
1. Once you click the setup executable you will be taken to the screen shown below. This gives various options and information on SQL Server installation. You can check the SQL Server 2008 software and hardware requirements, books online, documentation, etc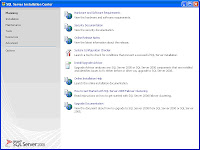
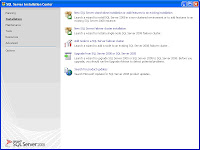


2. Click next and you will be taken to the installation options, you can choose t
he type of installation to be performed, you will also have options for upgrading
from previous versions of SQL Server.
3. You can also perform edition upgrades, repair on current installation and
remove nodes from SQL server cluster using the installation setup.
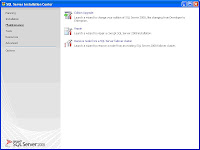
4. Advanced link has options with which you can create configuration file to
perform a unattended installation and also advanced cluster configurations.
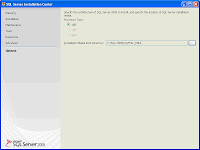
Once you click the installation and perform a new installation, it will ask for the
Processor Type information. Choose the right processor type information and the
setup executable file path.
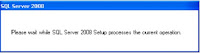
Click next, you will be taken to SQL Server installation tasks.
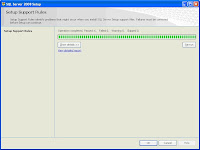
Installation checks and installs setup support files if needed.
Click install in Setup Support files screen to proceed with the installation.
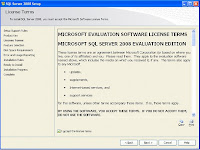
Specify the edition which you wish to install and enter the product key in it.
Accept license agreement and click next to proceed.
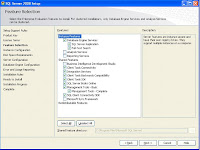
Select all the features that you would like to install in you server.
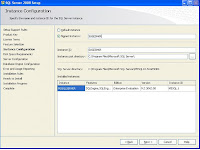
Choose the instance name if named instance or leave it as default. Also mention
details of the installation root directory, this is where SQL server binaries will be
installed
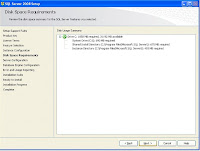
Check and review the disk space requirements and click next to proceed if
everything is fine.
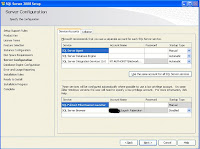
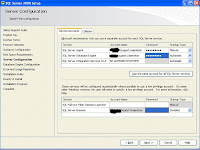
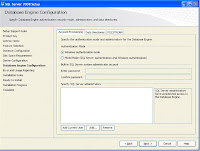
Specify Services account for all SQL server services, it’s advised to use domain accounts rather than using local or system accounts.
Select the type of authentication mode for SQL Server security.
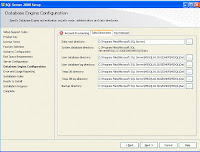
Choose the default paths for data and log files for system, user and tempdb databases.
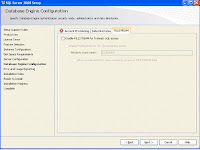
Choose option to enable FILESTREAM (this is to be discussed as a separate topic in other blog entry)
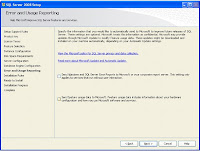
Configure for error and reporting while installation.
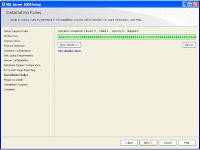
Check for the installation rules and if all succeeds then click next to complete installation.
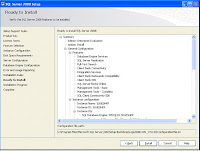
Verify the details given for the SQL server installation, if need be make changes before proceeding to next step.
Check for installation progress.
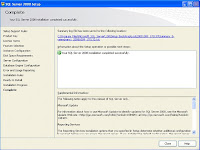
SQL Server has been installed. Hope you had a wonderful experience installing SQL Server 2008. Lets discuss other features and theories from next blog.


No comments:
Post a Comment